SEW SATURDAY: Part 2--How to Create Beautiful Lap Quilts using only 6 Fat Quarters
- monarae1
- Oct 2, 2022
- 4 min read

Want to use up some of your fabric stash or fat quarters? Follow me over the next couple of weeks to see how you can create different quilt designs using only 6 fat quarters for each lap quilt.
If you missed part 1 of this series you can review--Lap Quilt
This site uses affiliates including Amazon. If you purchase from one of them I may receive a small commission based on the sale at no extra expense to you.
Lap quilts are fun, easy, fast to whoop up and make great gifts for family, friends and co-workers.
This week we will pick up where we left off.

You will need:
Your cut pieces from last week
Sewing Machine with Walking Foot or Stiple foot--Discussed this in previous blog
Cotton Thread--I like Sulky
Strips
For this design sew your strips together to form a long strip--ironing along the way. There is two methods to iron the seams. For this project on ironed all seam going one direction. But you can choose to iron seams open.
I know I have mentioned this before--I love my Rowenta iron. It is simply an amazing iron. It gets hot fast and really irons those seams flat. So, if you are looking for a great iron this is the one--I promise you will love it. Rowenta's can be pricy but soooo worth the money.
On Amazon there is >14,000 ratings most are 5 stars.
Something else--you will need an ironing board. I set up my iron and ironing board next to my sewing machine. Saves time and many steps. I love my wide ironing board. I had the same ironing board for 20 years and just recently upgraded mine--again this one is pricy but I LOVE it. It is sturdy and easily adjust to any height.
I also have an office chair I use when I am sewing. This office chair is comfortable but enables me to turn my chair back and forth between the sewing machine and ironing board with ease. I purchased both on Amazon--great chair. Oh did I mention it is on wheels--so easy to manevaur around.
I simply like the convience of Amazon--since COVID I hate running from store to store looking for that perfect item. Also with gas prices.....
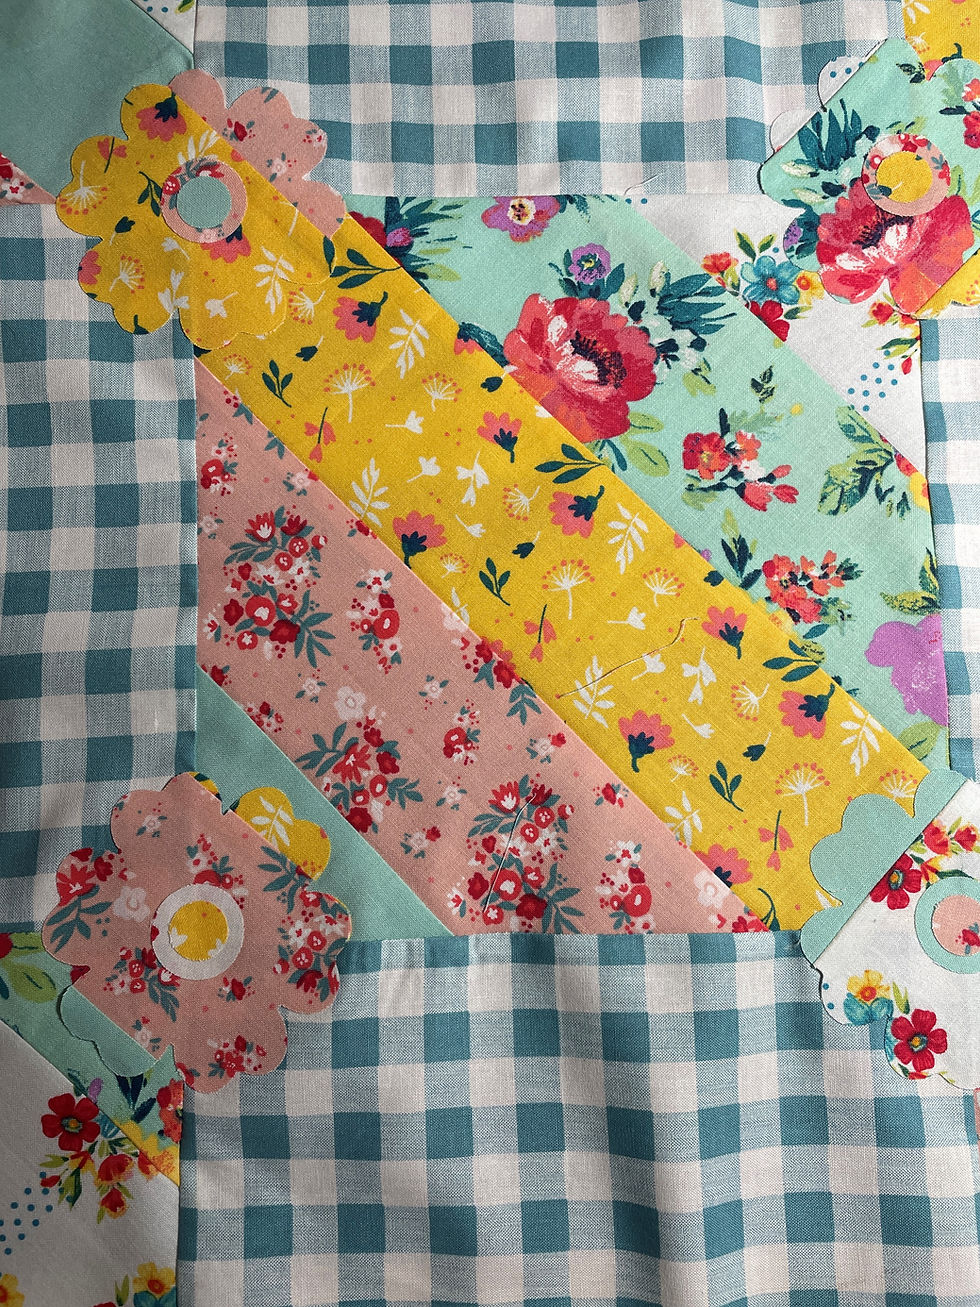
Once you have your strips sewn together you can decide how you want to cut them. I cut them at an angle. The top row is the same pattern, the middle is its own and the bottom row are alike.
I cut one and used it as a template for the other. I didnt need for the design in the fabric to match--just the strip pattern--if that makes sense. (see picture below).

I traced along my first sqaure--then cut along my ruler with rotary cutter. I am sure there are other ways... :) I like this set from Fiskars: self-healing mat, rotary cutter, and ruler.
Once you have 5 strip square cut, you are ready to sew.
This site uses affiliates including Amazon. If you purchase from one of them I may receive a small commission based on the sale at no extra expense to you.

Take your ruler and cut off any excess along your edge--square it up--so when you sew your next piece it will line up beautifully.
This is the only time I use pins to align the seams together.

I did find due to cutting on the bias the fabric does stretch--so dont pull on fabric. Just pin and sew. (mine didnt perfectly line up--but I will show you how I fix this here in a bit).

Now to fix those annoying corners the fun way.
A few blogs back I introduced the Accuquilt--here is the link if you need some extra information. However, I will talk some here as well.
I will be honest, when I first got my Accuquilt, I didnt see the use for it. But I have grown to value this handy product. I really want to get more dies--especially the ones for christmas cut outs.
But for this project we are going to use the flower die cut along with the two circles for the centers of the flower.
Take your scrap pieces and place some heatbond shiny side--iron to the back of your scrap piece. Place scrap onto die cutter pad and top with the plastic piece that came with your set and wind through.

Once the piece is cut you can peel off the paper backing. The back should now be shiny and ready to iron to your corner (you will need for sets of flowers with circles).

This is where we will stop until next weekend. I sincerely hope you liked this blog and it was easy to follow along. If you have any questions or suggestions please leave me a message.
Free GIFT--Printable download Journal--just select buy now below and it will be sent directly to your email for you to download. My way of thanking you for following along! (choice of 2--select one you like best.
Until next week--happy sewing!
Ask your question
Write an answer
Write an answer


Comments